


In order to start using Shoply to suit your business requirements, you must adjust the settings first
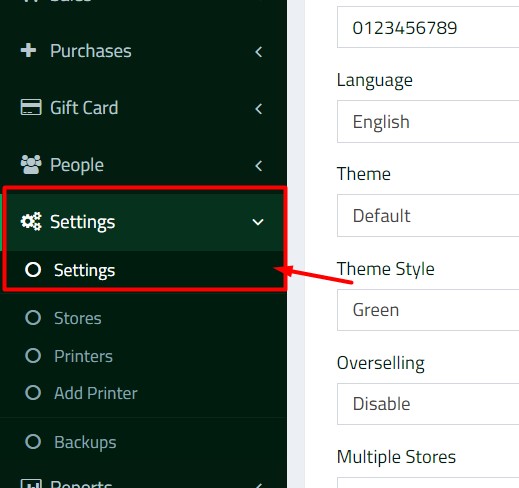
Navigate to System Settings, then System Settings
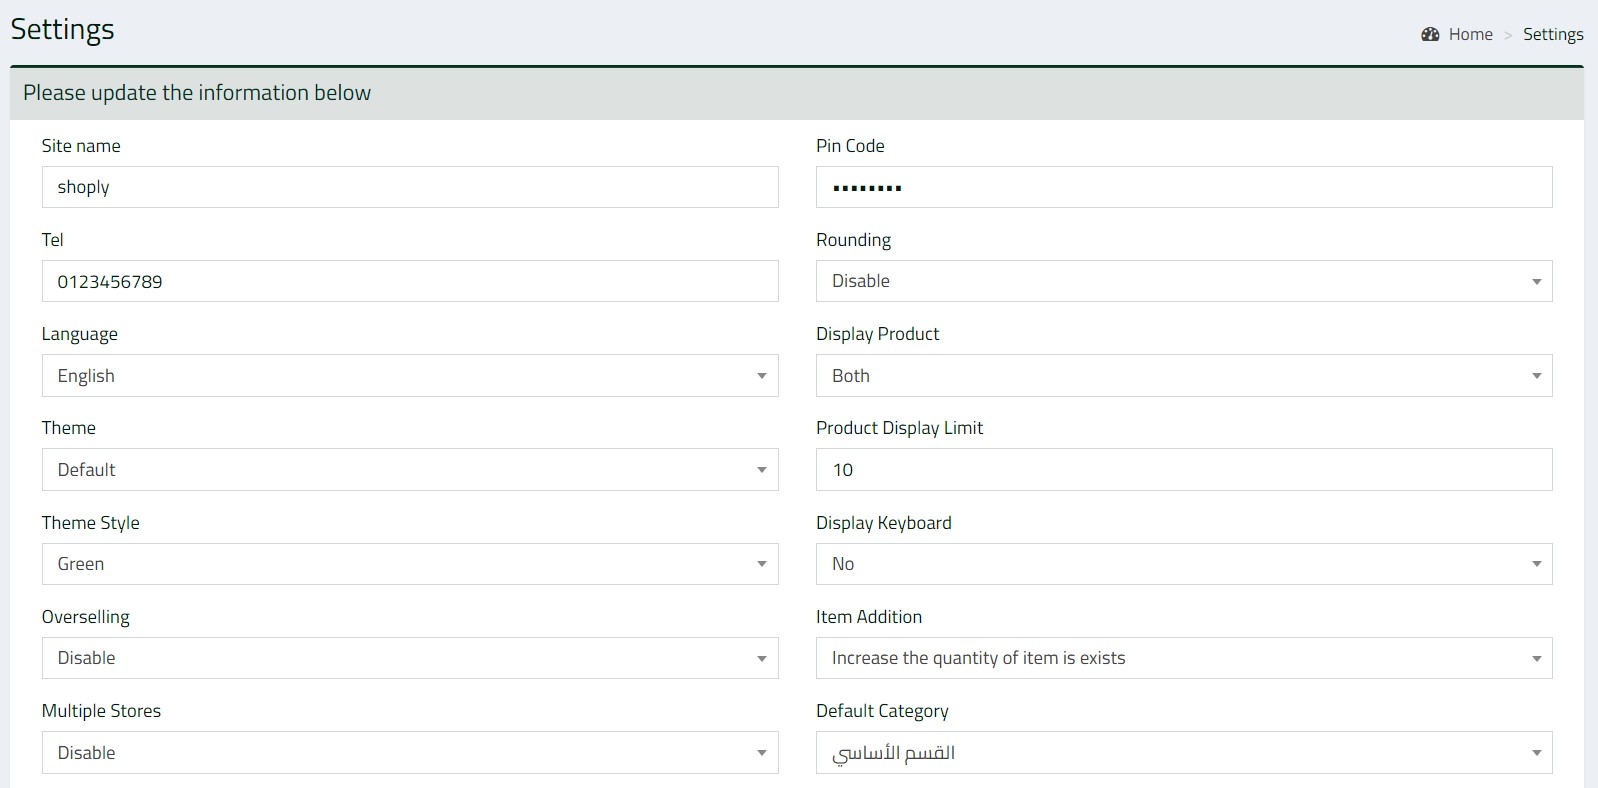
Site name: It is the name of your shop or business.
PIN Code: It is the password that the seller needs to modify the sales on the point of sale screen
Phone Number: Enter your business phone number
Rounding : removing a large number of digits and converting them to an integer, or a terminating decimal number.
Language: Select the primary language of the system
Display Product: You can choose to display the product name only, the product image only, or the name and image together.
Theme: Choose the basic Theme of the program
Product Display Limit: It is the number of products that appear on one page in the point of sale screen.
Theme Style: Choose the base color of the program
Display Keyboard: choose whether or not to display the keyboard at the point of sale.
Overselling: If yes is selected, the program will allow the seller to sell products even if their quantity has expired, but the product will appear in red as a notice at the point of sale. In the event that new purchases are created, the program will delete the sold quantity from the new purchases.
Item Addition: When adding the same product to the invoice, whether in sales or purchases, does he add the same product in more than one item, or add the product as one item, but change the quantity.
Multiple Stores: If you have more than one branch or store, activate this. If you only have one branch, choose Disable.
Default Category: Choose the main product Category that appears when creating sales in the POS.
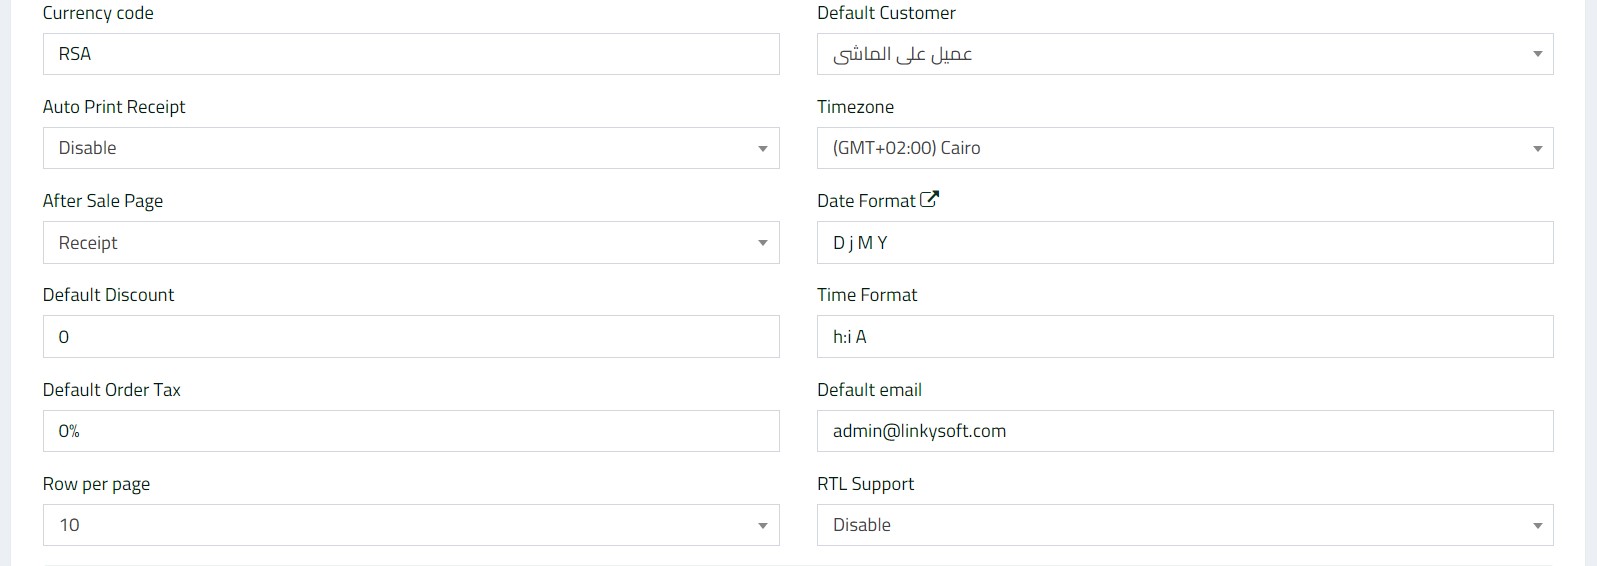
Currency Code: Enter the currency code, which should not be more than 3 characters long.
Default Customer: Choose the primary customer that appears primarily when creating a sale in the POS screen.
Auto Print Receipt: In case of activation, the program will print the invoice automatically when it is created.
Timezone: Choose the timezone based on your country.
After Sale Page: If you choose an invoice, the program will transfer you to the invoice to view and print it on the point of sale screen. If you choose the point of sale, the program will create the sale process without transferring you to view the invoice. If you are printing invoices or sending them by e-mail, choose Invoice.
Date Format: Choose how the date format should be, and it is preferable to leave it as shown.
Default Discount: Add a base discount that is automatically added to each sales invoice created, or add 0 to not add a discount.
Time Format: Choose how the time format should be, preferably leaving it as shown.
Default Order Tax: Add the tax that is automatically added to each sales invoice created, or add 0 to not add tax.
Default email: Add the Default email from which emails are sent, add your business or personal email, you can create email accounts from the Linkysoft console.
Row per page: Choose the number of entries that appear on each page of the program. Preferably 25 or 50.
RTL Support: In the case of activation, the list of program pages will appear on the right, and in the case of deactivation, the list of program pages will appear on the left. Activate this if you use the program in Arabic only.
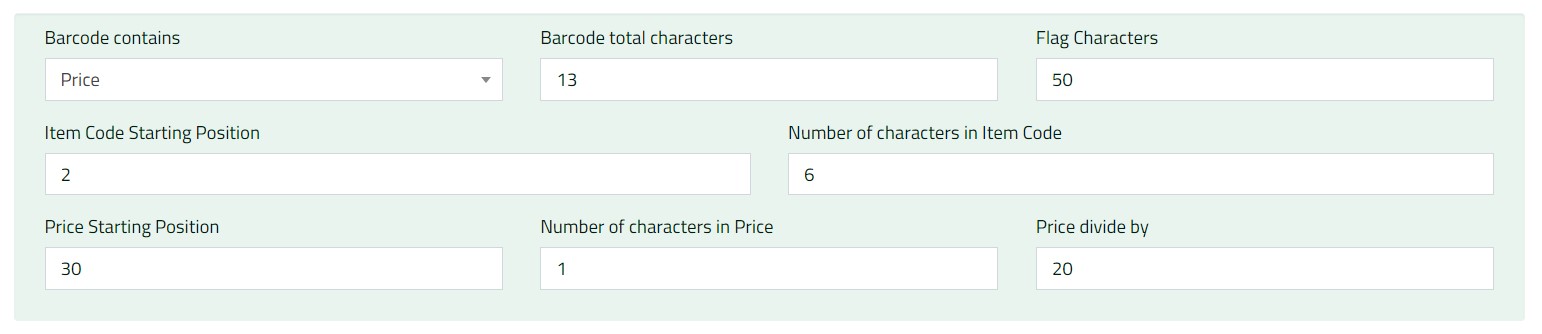
In this section, adjust the barcode scale settings
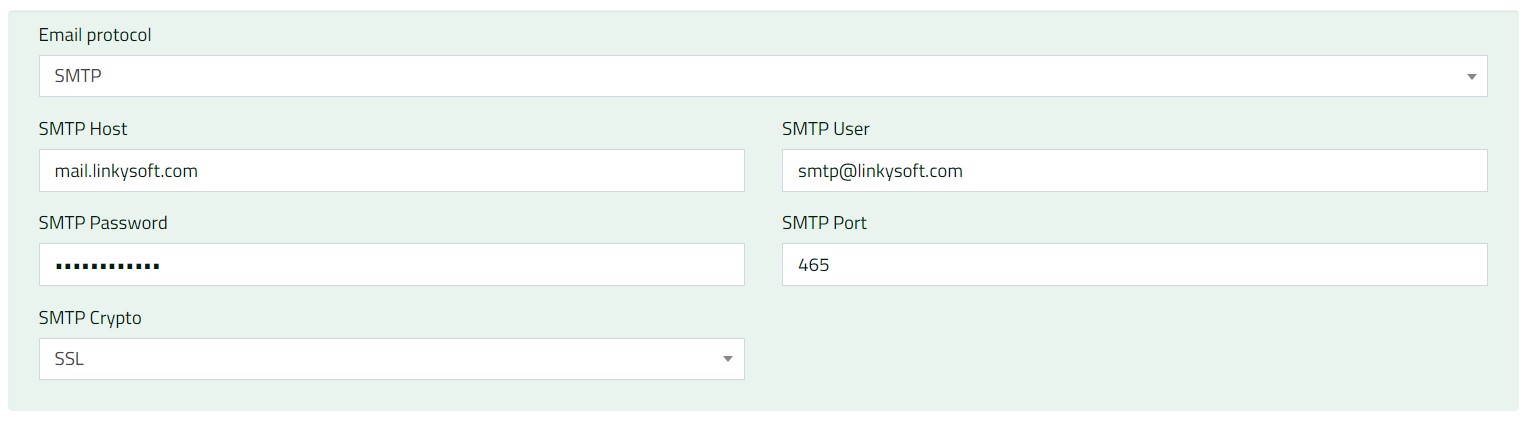
E-Mail Protocol: In this section, configure the settings for the e-mail provider, which is responsible for sending e-mail messages, such as sending invoices, payments, and purchases. If you are not interested in sending emails, ignore this section.
Linkysoft gives you default settings for SMTP that you can leave, or you can enter your SMTP email information.
You can also choose the PHP Mail Function: the system will send emails via the PHP Mail Function without the need for SMTP.
It is preferable to use SMTP because it is the most stable and secure.
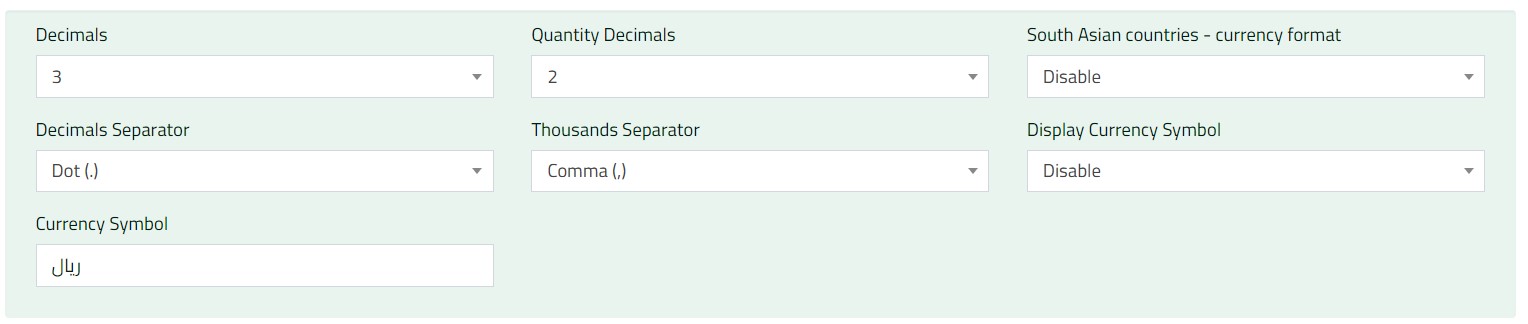
In this section, adjust the shape of the coin in terms of decimals. and decimal quantity. and the millennial separator. and the position of the currency symbol. and currency symbol
Payment by stripe.com: If activated, you can receive online payments by Visa or MasterCard from customers, if you wish to do so, choose Disable.
Keyboard Shortcuts: Here you can customize the keyboard shortcuts that you can use on the POS screen.
Login logo: Upload the logo or slogan of your shop or business to appear on the login screen. The length and width of the logo must be less than 100 pixels.
Printing: Choose to print through a web browser so that you can get all the printing features of the internet browser you are using

