


In this guide, we will explain how to add a new branch or store in Shoply. This process is essential for businesses that need to manage multiple locations or warehouses. By following the steps below, you can add a new branch or store to your Shoply system and begin using it for sales and purchases.
What Is A Branch Or Store In Shoply?
A branch or store in Shoply refers to a separate location, such as a physical store or warehouse, where inventory is stored or sales are made. Shoply allows businesses to manage multiple branches and stores, ensuring better tracking of inventory and transactions across different locations.
How To Add A New Branch Or Store
To add a new branch or store in Shoply, follow these steps:
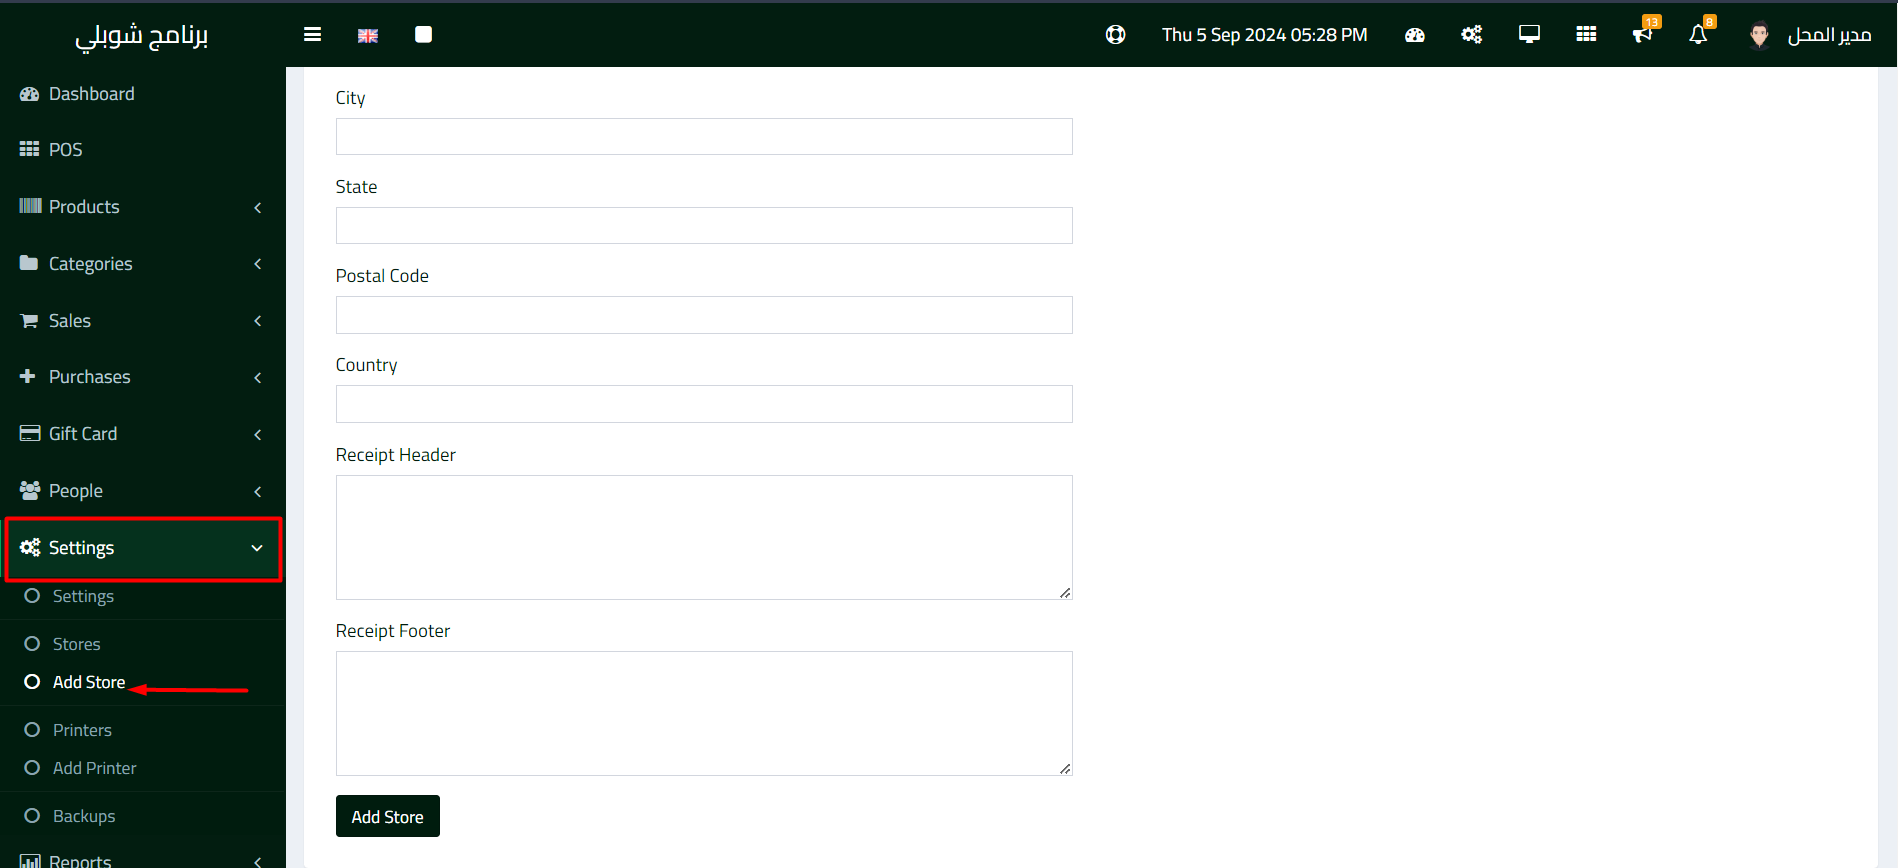
- Go to Settings > Add Store from the main menu.
- Fill in the required fields as described in the following sections.
- Click Add Store to complete the process.
Required Fields And Their Descriptions
Below is a detailed explanation of each field required when adding a new branch or store:
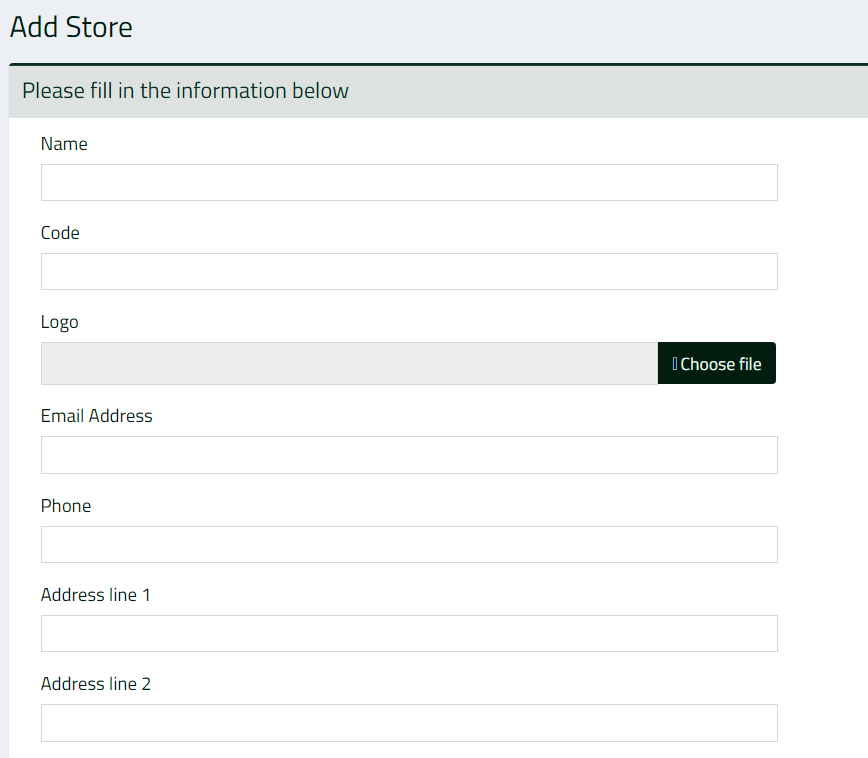
Name
This field represents the name of the store or branch. It will be displayed throughout the system, making it easier to identify different locations.
Code
This is a unique code for the store or branch, used to reference the location within the system. The code should be short and easily recognizable.
Logo
Upload a logo for the store, which can be used for branding purposes and will appear on invoices and receipts.
Email Address
Provide an email address for the branch, which can be used for communication or sending digital receipts.
Phone
Enter the contact phone number for the store. This number will be visible on the system and can be printed on receipts.
Address Line 1
Input the first line of the address for the branch location, such as the street address.
Address Line 2
This field allows you to add additional address details, such as a suite number or landmark.
City
Enter the city where the branch is located.
State
Provide the state or province for the branch location.
Postal Code
Enter the postal or zip code for the branch’s address.
Country
Select or enter the country where the branch is situated.
Receipt Header
Use this field to input custom text that will appear at the top of receipts for this specific branch. This could include store details, promotions, or other information.
Receipt Footer
Add any custom text you want to display at the bottom of receipts, such as terms and conditions or a thank-you note.
Using Branches And Stores In Shoply
All transactions tied to specific branches will be reflected in reports, allowing you to monitor sales and stock movement at each location. Adding a new branch or store in Shoply is a simple but powerful feature that helps you manage multiple locations efficiently. By filling out the necessary fields and selecting the branch for each transaction, you can maintain accurate inventory and sales data across all your stores. Follow this guide to get started with adding and managing branches in your system.

